Learn to understand camera settings for proper use of photo equipment as a blogger. As a fashion blogger, you are always asked about the best camera for bloggers. What camera should you buy as a blogger? What does one need as a photo beginner? What should you look for when taking pictures? Tips for beginners and understanding camera settings for better fashion photos and detail shots with “sharp and blurry” effect.
Many always think you need extremely good camera equipment if you want to create good photos. However, it’s more on small tips and tricks, as well as the right settings on the camera. Even if you can certainly create good photos and recordings without prior knowledge, it is worth to understand the camera, learn to understand camera settings and also read through the instructions once.
However, with any camera and any challenge as a blogger “learning by doing” understand camera settings. It is best to take as many pictures as you can and with each picture and shot and analysis you will see improvements and understand more and more the camera settings. You will develop a feeling for the operation of the camera and the hand movements will gradually come naturally to you.

But what is the perfect camera for bloggers? Understanding camera settings
There is no simple explanation and solution to this question. If there was only one answer, then there wouldn’t be the wide selection on the photography market as there already is today. Before buying a camera, it’s important to consider what you plan to use the camera for at the time of purchase.
There are cameras that are better suited for photos and cameras that are better suited for video recording. Generally speaking, Canon and Nikon are known primarily for photography, while Sony focuses more on video. While Sony goes mirrorless and thus remains smaller in terms of body size, Canon, for example, offers more and more cameras that are larger but are also best suited for video recording.
It’s not without reason that so many YouTubers and bloggers use DSLR cameras and mirrorless cameras from Canon.
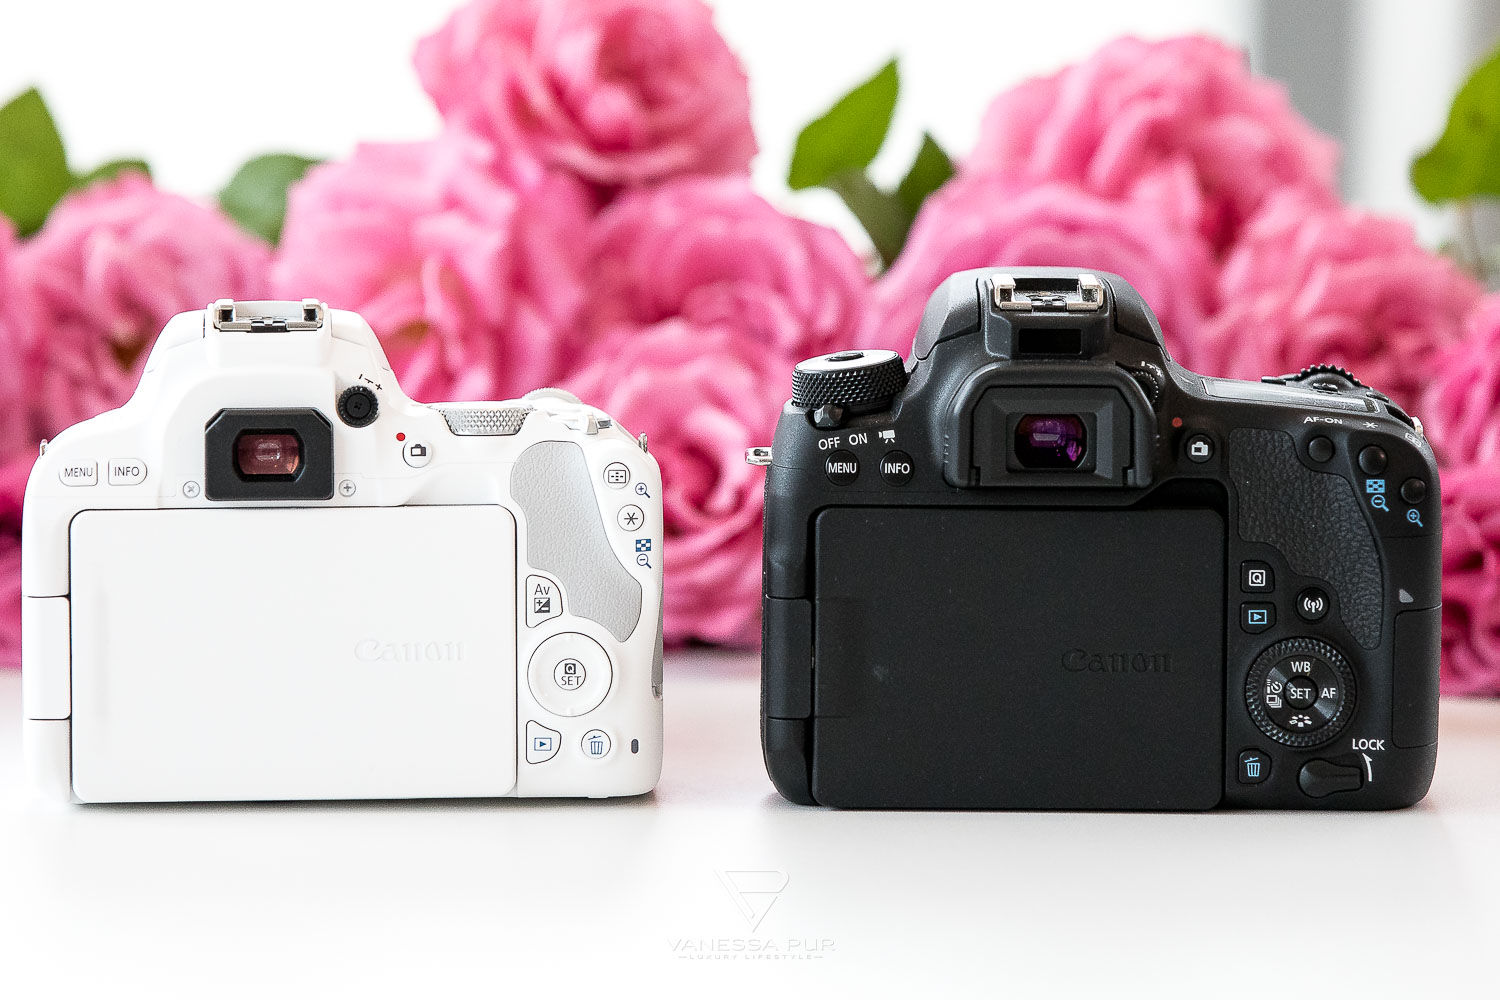
While people are happy to have a foldable monitor for vlogging videos, it’s rarely really necessary for photography. However, I myself like to use the monitor angled for food photography in restaurants when I hold the camera as flat and close to the plate as possible.
However, it makes a bigger difference if you want to sell your photos and need an extremely high resolution to have your pictures printed as posters on house walls. Here we are talking about the professional range, which is not necessary for the normal blogger to take good pictures.

Do you need a full frame camera? Understanding camera settings
With a full frame camera, you have the largest sensor size built into the camera. This usually makes the camera itself larger, but of course it also makes the quality of the images larger. The larger the sensor, the more information can be captured and stored.
The difference between a normal DSLR camera and a full-frame camera is especially noticeable in the dark. By the higher possible ISO value you prevent more noise, by that you mean the unclear pixels, than with a normal shot. For normal use as a blogger, however, you rarely need an extremely high ISO when shooting.
What you should consider, however, is image mood. While with a full-frame camera lenses can show their full effect, you have to reckon with a factor with a normal DSLR camera. The sensor is usually not as large as the lens can handle. Of course, there are also exactly fitting lenses that are not even usable for full-frame cameras.
The images of a full-frame camera are therefore usually even sharper, clearer, more impressive and more curved than with a normal DSLR camera. It all depends on your personal photography style, but as a blogger and blog beginner, you don’t have to start with a full-frame camera.
Overview of sensor sizes in different cameras:
Designation Sensor size Area
Full frame 24 x 36mm 864mm²
APS-C Sensor 15 x 22mm 330mm²
4/3 (Four-Thirds) 13.5 x 18mm 243mm²
2/3 sensor 6.75 x 9mm 61mm²
Smartphone sensor 5 x 8mm 40mm²
Best blogger camera or lens? Understanding camera settings
So for a beginner blogger, the camera can happily be a typical beginner camera. Canon has launched some beginner models here (such as currently the Canon 200D or the Canon 2000D and 4000D), with which you can not go wrong from the operation and photo quality even without understanding the camera settings.
What is much more important than the camera itself is the lens. Therefore, it is advisable to choose a camera where you can change lenses and even if you start with only one lens, you can always increase your photo equipment.
Many cameras come directly with a lens that is already suitable for many situations. It is usually a good start for beginners who can find their style even with the standard lens.
Otherwise, it depends a bit on the direction you like to photograph. For as much landscape as possible and spaces where you want to have as much of your surroundings as possible in one picture, a wide-angle lens or even a pancake is suitable. For a beginner I would recommend a pancake lens because it is very short and light. With this lens you can also take very nice detail shots.
However, if you prefer to shoot people and fashion looks, you will be interested in the typical fashion blogger lens. The 50mm lens is perfect for the popular in-focus shots that you often see on fashion blogs. Those who like to photograph natural emotions of crowds at weddings, for example, or want to take animal photos will have a lot of fun with a good telephoto lens.
Since all lenses fit your camera, it is important to find the best lens solution for your area and to optimize it again and again. Usually you start with a lens with a small light output and in the long run you can consider a lens with a larger light output if you use it frequently. Mostly, however, these are priced in the higher range.

Understanding camera settings for really beautiful photos
As a blogger and amateur photographer, however, it is important to get to know your camera and understand the camera settings, why some pictures are not sharp or did not turn out well. A camera is only as good as the user knows it. Even if a lot of things are already automatic, you have to be able to force the camera to make some settings when the situation calls for it.
There are differences between a real camera and a smartphone camera. Even though in this day and age some smartphone pictures are really good, there are reasons why on the good camera the lens is a little bigger than on a smartphone. You just have to understand the camera settings and how exactly to take advantage of that for your own photos and image style.
Of course, you can do a lot of post-processing on photos from the camera on the PC, for example, with Lightroom and filters/presets and should be happy to do so, but it is still important to understand the camera in advance to be able to create as perfect a photo as possible already. Shaky and blurry images are difficult to post-process.

Aperture, ISO & Exposure Time – Program Automatic
For all beginners of photography who just want to take pictures as uncomplicated as possible, the setting “P” on the dial will automatically get good photos. The camera analyzes the preview image and decides for itself the aperture, ISO value and exposure time. With the program automatic you get mainly very good pictures and only rarely the camera decides for wrong settings.
As a blogger, you usually take many different pictures from different angles and perspectives to be able to tell the story as well as possible or to present the outfit as well as possible. Most of the time, you don’t notice if a picture is not usable. However, if all pictures are not satisfactory and blurred, you should work on the settings and the depth of field.
If you want to have more influence on your pictures and the picture mood, you can’t get around the settings of the aperture, the ISO value and the exposure time. Once you have understood the principle of the triangle, you will also understand why the camera does not want to trigger the automatic program in some situations.
The camera’s aperture – understanding camera settings
The aperture determines how much light hits the sensor. Similar to our eyes, we blink, for example, when the light is too bright for us. The camera then uses a smaller aperture. At night, like our pupil, the aperture is wide open to capture as much light as possible.
Understand camera settings – when it comes to the camera’s aperture:
The larger and more open the aperture, the smaller the f-number, e.g., f/2.8
The smaller and more closed the aperture, the larger the f-number, e.g. f/11
So if you have a lens with a focal length of f/1.2, more light reaches the sensor than with an f/3.5 lens. The f/1.2 lens is therefore the faster lens and also the more expensive lens. Fast lenses are particularly useful for night shots. Another advantage is, of course, that the camera needs much less time to take a picture, since enough light already hits the sensor in a short time. Thus, the risk of camera shake is significantly lower.
However, the aperture is also responsible for our popular “in-focus” images, the depth of field.
The larger the aperture and thus the smaller the set f-number (e.g. f/3.5), the more blurred our background behind the person or object becomes.
The smaller the aperture and thus the larger the set f-number (e.g. f/11), the sharper our background behind the person or object becomes.
Large blurs are especially popular in portrait photography and food photography. The larger the aperture is open, the more light comes through the lens and the shorter the exposure time can be. For landscape photography, you choose a larger aperture to have the landscape sharp in both the foreground and background.
Why is a fast lens important then? Understanding camera settings
The smaller the aperture and thus the larger the aperture opening, the more the blur effect will be in the background of your subject.
Night shots require less exposure time and are thus less likely to blur.

The correct camera exposure time – Understanding camera settings
Exposure time is the most important factor in blurred images. Since you usually can’t hold a camera still for a second without a tripod due to weight and breathing, the amount of time the aperture is open is critical to the sharpness of the photos. Exposure time is measured in seconds.
For razor-sharp pictures of people, the exposure time should therefore be as low as possible and be, for example, 1/500, i.e. a 500th of a second. If an object such as a car is to be captured in motion, the exposure time may be long, e.g. 1/4, i.e. a quarter of a second.
Either one tries then to accompany the fast object and to follow that the environment blurs, or the object blurs and the environment remains sharp. Here you need a lot of sensitivity and practice.
For sharp images, the exposure time should always be as short as possible, i.e. as high a number as possible below the fraction line, or behind the cross line.
At what point does it become difficult to get a sharp image? It always depends entirely on the lens, e.g. it is said that with a 50mm lens you can use an exposure time of up to 1/50s. However, there are also lenses with image stabilizer that can also help here and in that case still allow beautiful images with 1/25s.
If you use a tripod, you are even freer to choose a longer exposure time. Especially for night shots, it is recommended to use the smartphone app of the manufacturer, such as Canon, to use the settings and the shutter release as a remote shutter release. This saves the shaking caused by the shutter release.
Sometimes you use the long exposure time for effects like still water or a waterfall. A long exposure time is also often used for night shots to capture the movements and lights of cars or stars. In general, however, people more often choose a low exposure time.
The longer the exposure time, the more light reaches the sensor and the brighter the image.
If the camera’s shutter sounds significantly different than what you’re used to when you’re taking pictures, the shutter speed is too high for you to still be able to take the pictures handheld without blurring. Either change the shutter speed manually or use a tripod.

ISO – What does the ISO value of a camera mean?
Learning to understand camera settings: the ISO value was already known from old analog photo films, which you had to buy according to the ISO. You had to think in advance what shots you wanted to take and then bought your film.
Today it is similar with the ISO value, only you can change it for each picture and can try out different situations without having to wait for 24 more pictures and development time, like back then.
The smaller the ISO value, the better and the less noise in the image.
However, the ISO value depends on the situation, light and weather:
ISO 100 for sunny outdoor shots and studio lighting.
ISO 200 for outdoor shots with clouds and shadows
ISO 400 for bright interiors and foggy, sunless weather
ISO 800 for dark interiors and at sunset
In today’s cameras, this sets the light sensitivity or electrical impulses of the sensor. The higher the ISO value, the more disturbing image noise, caused by incorrect signals from the light cells in the sensor. This is more often a problem with compact cameras with small sensors and small diodes than with large full-frame cameras.
The worse the light situation, the more sensitive the ISO needed to get a good shot. When shooting at night, the camera sometimes selects an extremely high ISO value in automatic mode.
The higher the ISO, the more the image noise, or grain, becomes visible on the image. Whether you ultimately see it on the image, however, also depends on the desired image size. For post-processing and a noise reduction, e.g. by Lightroom or Photoshop, it is helpful if you take the pictures directly in RAW mode.
However, the high-quality RAW images always need to be processed and cannot be used directly as with .jpg images. However, with .jpg images, you also can’t make many more changes in the image or use filters afterwards. In RAW mode, the camera shoots a flat color profile, which can and must be changed later at will based on the amount of information stored.
Also the temperature of the camera influences the image noise. The warmer the camera, e.g. due to many shots in Liveview mode, the more image noise can occur.
At which ISO value the image noise becomes disturbing is slightly different for each camera. Depending on the light situation, lens and camera, noise can already occur at ISO 400, but many cameras do not have noise problems even at ISO 1600. The only thing that helps here is to try it out and get to know the limits of the camera.
The higher the ISO value, the shorter the necessary exposure time, but the risk of noise, i.e. graininess, in the image increases with the higher ISO value.
So you can create a similarly bright image by using a high ISO and a short exposure time, or a longer exposure time and a lower ISO. The images differ in sharpness and grain afterwards, which can both be used deliberately as an element of style, depending on the situation.

Relationship between aperture, shutter speed, ISO – understanding camera settings
If you understand the functions and operation of aperture, exposure and ISO, you know how the camera works. Depending on the setting, you can now specify what should have the most emphasis in the image. All three settings are connected, like a big triangle, and shift as soon as you change something at one corner.
With the selectable camera programs you can tell the camera what priority you want to have in the image. If you want to have an influence on the picture, you don’t choose Program Automatic (P), but Manual (M), Aperture Priority (AV or A = Aperture) or Time Priority (TV or S = Shutter & Time).
With the Aperture Priority A or AV, i.e. Aperture Value, you specify the aperture yourself, i.e. you decide whether to select a small f-number for a blurred background, for example. The camera automatically selects the appropriate exposure time. This is the option you consciously choose if you want to have pictures with blur and objects out of focus. This setting is one of the most popular settings as a creative element among photographers.
In Time Priority S or TV, which means Time Value, you set the desired exposure time and the camera then chooses the aperture itself. This option is important if you want to take long exposures at night or if you want to choose the shortest possible exposure times for the sharpest possible images.
So you can shoot in the automatic setting P, the semi-automatic AV or TV or in the manual setting M. With the M setting, you have to calculate and set the three values and the interaction of aperture, ISO and exposure yourself.

Using the right aperture, ISO and exposure – understanding camera settings
So you can remember that you should try to take your picture with a low ISO value. For example, you set the value to 100 and then choose the desired aperture depending on the subject. If you want to take an overall picture, choose an aperture like f/8, if you want to see an object in the foreground sharper and the rest blurred, choose an aperture like f/4 or even smaller.
Now the only thing missing is the exposure time, which should be shorter than a 1/50 second to get a sharp image. In still images, sometimes you won’t be able to tell the difference if the image was taken at 1/100 second or even 1/1000 second.
That’s why many like to choose AV mode, because exposure time has to be the smallest priority for images during the day. If you want to change something in the exposure and the values, you press the +/- button on the camera in each case and turn the dial until the setting is changed. After a short time, you get used to this handle quite automatically and have learned to understand these camera settings. (This is arranged differently depending on the camera model).
Taking better photos – The image composition & image design
As a hobby photographer and fashion blogger or generally as a blogger, it is not only camera settings to learn to understand, but there are some basics that you should consider in the image composition to make better photos. Having the best camera and lens alone is not enough to take good photos. An understanding of image composition and composition is important to develop your own style of image.
For much in image composition, you don’t need a guide, because you already naturally adjust the desired image detail to your camera and lens. Especially with lenses with fixed focal lengths, which therefore do not allow zooming, you automatically move closer to objects or move away from objects to get the desired subject.
Depending on the lens, you as a person already behave quite differently when taking a photo and choose different perspectives and try out different angles. It is important for bloggers that the image supports the story and story told and can reflect emotionally.

Different layers on the picture
For the emotionality of the images, in addition to the composition, people also like to use the depth of field, which you sometimes get only from certain angles. The background tells a story, even if it is only blurred, and makes the image tangible and coherent or just neutral and flat. Many images need a three-dimensionality for a good effect.
With landscapes, you also need different layers in the picture to convey a mood for the moment. For example, you have a hut in the foreground, a small person or a winding path a little further away and the mountains on the horizon. A picture that conveys a completely different mood than just the mountains on the horizon. Through the people, the image gets life and the viewer begins to perceive the size of the trees and mountains and put in relation.
Similarly, for example, at the sea – the sea alone is beautiful, but only conveys an emotion through the beach chair in the foreground or the parasol on the surf. The different layers may overlap and touch. The important thing is to have a foreground and a background in the picture. Which of the two is ultimately sharp and which is blurred is up to the photographer.
Sometimes “less is more.” One should not try to cover as many details as possible in a picture, but rather direct the eye to the essentials. Enthusiasm is triggered when we can direct the eye and not overwhelm the viewer. Pictures don’t have to show everything, as long as it’s not a construction manual for a drawer cabinet. This is exactly what photographers like to use depth of field for.
The blue sky is sometimes an unconscious depth in the image as well, if you use it correctly. The further you can see, the bluer the sky becomes. While the sky in the foreground still looks white, you then see the sky blue due to the refraction of light. Color perspective is a good element to use to convey depth in the image as well. With fog and haze, you can also achieve this visual effect very well by using clear and light shadows.

The rule of thirds – the golden ratio
For image composition, you can use the golden ratio or the rule of thirds as a guide. You divide the image into a grid with nine boxes, i.e. two lines from top to bottom and two lines from left to right. With many smartphones and cameras, these lines can be displayed directly in the preview as an aid.
You now try to find a picture that is as harmonious as possible by not placing an object in the center, but deliberately on the left or right upright line. This effect is best seen with trees placed in front of a beautiful landscape. If the tree is in the center of the picture, it slays you – if it is further to the left or right of the picture, it conveys a mood and appears harmonious.
If you want to photograph a person and have a TV tower in the background, for example, then you should not try to place your model or object in the foreground in line with the tower, but choose the opposite line. This way you avoid a “strange hat” on a person and the viewer has something to discover in the picture.
It is similar with the lines at the horizon – you try to place the horizon on one of the cross lines and not in the middle as image division. The central image division only works really well with a few images, if for example then something “happens” on the cross lines as well, otherwise both halves of the image fight for the most attention.
If you have a lot of sky in the picture, you have to be careful that the landscape does not take too little influence on the picture and becomes boring. The picture conveys loneliness and an object that is in the center of the picture, like a tree, often looks lost.
If you have little sky and a lot of landscape in the picture, the picture can seem constricting. This narrowness can be relieved with a road in the picture. The best thing to do with a horizon is simply to try out all three variations and decide what you like best and what works best.
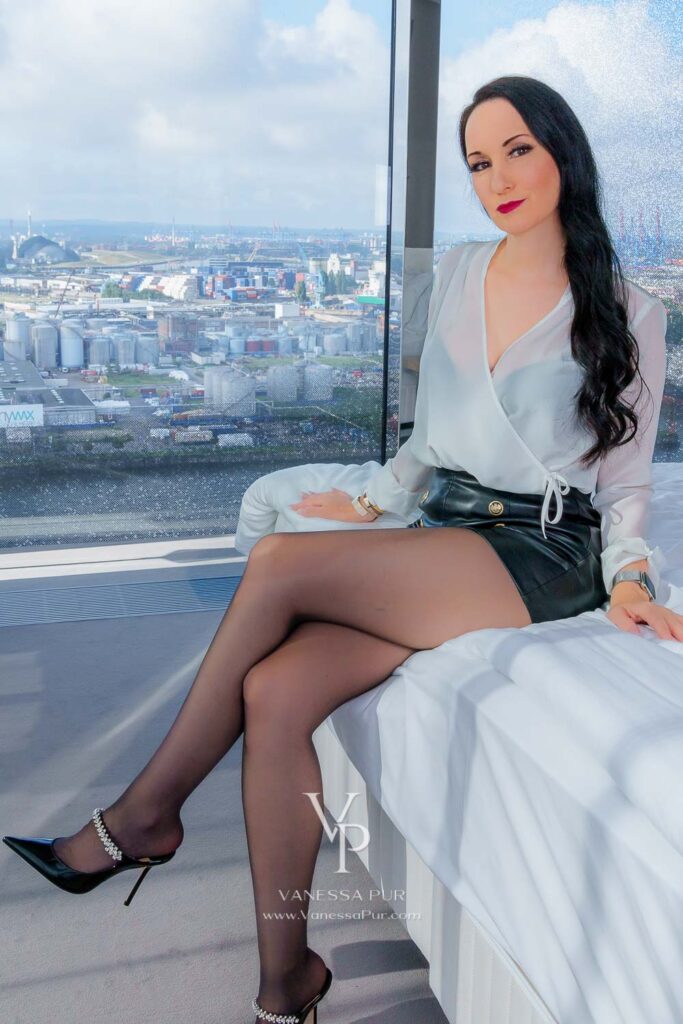
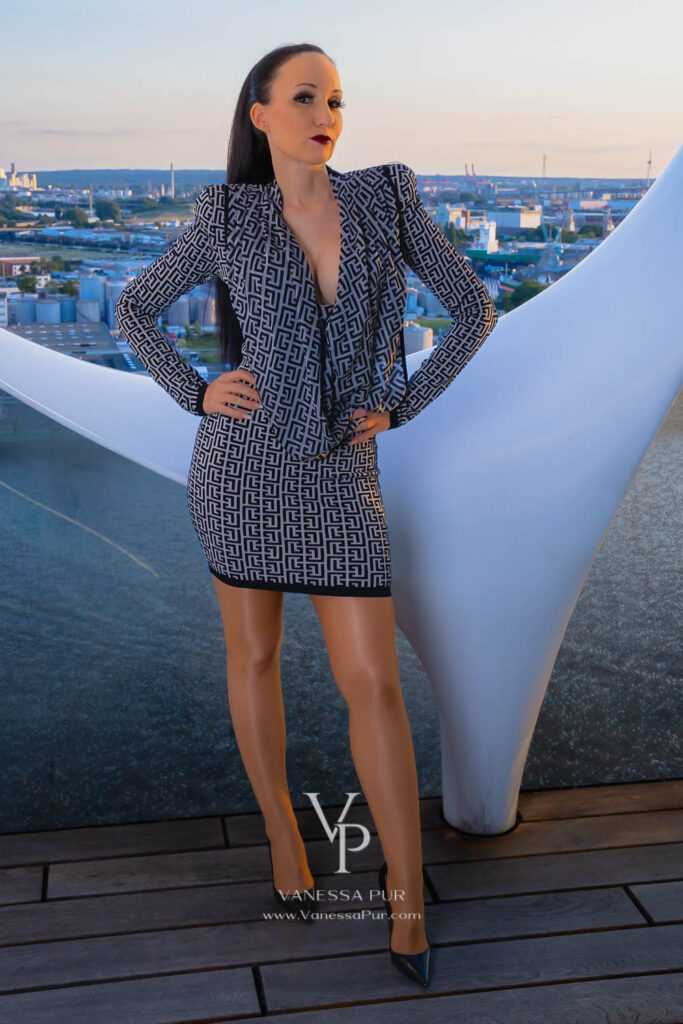
When photographing people, especially in portraits, always try to place the eyes on the upper third line. You can get more dynamics in fashion photos by taking photos from waist level, for example, if the model walks past you, stretches out her hands or even an object in the foreground is out of focus in the picture.
For beginners it is always helpful to see the preview of the pictures and to use the live view monitor. With the monitor, you can choose different perspectives and don’t have to kneel down if it makes you shakier.
With the rule of thirds, you try to emphasize two of the four points where the lines meet. You have a close object on the bottom right point and a more distant object on the top left point. All of a sudden, the image comes to life very differently than if you had only photographed the object in the center front. This is exactly what movement and different angles are enormously important for the photographer.
With the golden section it behaves similarly, however the lines run slightly differently and not symmetrically, as with the rule of thirds, but the lines are closer together in the middle. Especially for pictures at the seaside, it can come out prettier if you align the horizon a bit more to the center without directly choosing the center or the rule of thirds. You do a lot of things automatically at some point and find your lines and points almost as if by yourself. You get used to a photographic eye and learn something new with every picture.

Lines that lead the eye
We find lines everywhere in our environment and only have to learn to use them for our pictures. Lines can draw your eye to the essentials and our eye automatically follows the lines we find. There’s a reason YouTubers are often surrounded by shelves: Shelves are lines that draw the eye to the YouTuber.
These lines work the same way in photography and are one of the reasons why fashion bloggers love to shoot on the street between cars and walls of houses. They are all lines that can guide the eye to the main subject. In fashion photos, images with lines running slightly across the image in portrait format look particularly natural. The course of the line often only takes place in one of the horizontal thirds, usually in the central third.
In landscapes, one also likes to use roads and paths or rails. Even in animal photography, a spider in a web is fascinating because all the lines point to the spider itself.
Whether you use the lines symmetrically in the center or decide to divide them to the left or right of the image is up to the photographer. An escape guides the eye and makes the viewer linger. One is fixed without knowing exactly why it is so. This effect is similar with spirals, such as a snail shell.
If one uses symmetrical lines in the picture, the horizon can be gladly in the center of the picture, as central perspective, without the picture appearing boring to us. Images that are almost mirrored in the center also have a very harmonious effect on us. An effect that works very well in building photography or bridges.
The lines leading to the center of the image also fascinate us when looking upwards, when photographing skyscrapers. Staircases and special asymmetrical architecture get fascinating lines by the frog perspective.
Framing & Frames
Similar to lines is the case with doors and frames. Window frames and doors are perfect for framing a person. You deliberately put or place the person or object in a box or rectangle. Everything that is framed takes on a special meaning, like a picture in a beautiful picture frame. Sometimes the frame fascinates more than the motif itself and everything then fits together and seems coherent again.
Trees with low-hanging branches and leaves are also often used for framing, however, these images often also quickly look kitschy in romantic wedding shots.
It is more exciting to use lines of large window panes, such as at the airport for framing. You put the person with the frame in a completely different relationship and still like to place him not completely centered in the picture.
Story telling in the picture
There are many different ways to tell a story with the image. First, it seems to make the most sense to photograph as much of the room and the action as possible to show as many details of the situation as possible and thus tell the complete story in one picture – this is called “closed framing”.
However, it is more exciting and interesting to show only details of the scenery. With “open framing”, you only see part of the action and want to know what else is to the left and right. Why is the person happy, where exactly is the person, who is the person talking to?
We find pictures that arouse our curiosity more exciting than pictures where we can see everything at a glance and know everything. Here you quickly turn the page, even if it can sometimes be really practical, emotions often remain out of these images.
Mostly it makes sense for bloggers to take different pictures. A few pictures from the long shot, so an overview of the complete environment, but just to put value on details and thus arouse emotions.
It is similar with the camera angle. The viewer often wants to be taken on a certain journey with the picture. Anything that is not the normal angle that we know from our everyday life makes us stop. Whether we take the picture kneeling or lying down, or from the second floor or from a skyscraper, everything is more fascinating than the normal height at which we perceive our environment every day.

Conclusion – Understanding camera settings, better photos for bloggers – good camera & good pictures.
As a blogger and YouTuber, you have automatically become a photographer and videographer as well, and you have to learn to understand camera settings. Today, good photos are automatically expected on good blog and thus even with new blogs the expectation rises with many.
There is a lot you can learn and keep in mind when it comes to photography, but you still learn the most when you are simply creative and try things out yourself. A certain curiosity and ambition is part of blogging as well as photographing or filming. The best equipment doesn’t help here if you don’t have fun trying to understand the camera settings.
Often it’s small help and information that makes the difference between a good and a very good picture. You can get the result with many different cameras and it is not an argument for not being able to tell your story.
The art is to use images to evoke feelings and convey information, to capture memories and emotions, but also to place wishes and dreams.
With the information about the camera for bloggers and tips to be able to understand the camera settings, as well as thoughts on image composition, I hope I have aroused your interest to just try a few things yourself and find new angles in your life.
I wish you a lot of fun to learn to understand camera settings and I’m looking forward to your feedback…